What are contact fields and how to customize them?
Modified on: Thu, 15 Feb, 2024 at 3:57 PM
A contact’s information is saved in three groups:
Basic Information
This includes all the default contact fields that can be filled in manually through contact forms, during import, or automatically using our CRM Web library.
 Here’s the list of default fields:
Field Name | Description |
First name | Contact's first name Eg: James |
Last name | Contact's last name Eg: Sampleton |
Sales owner | The user who created the Contact |
Accounts | The company that the contact works at Eg: Widgetz Upto 10 companies can be associated with a contact |
Job title | Designation Eg: CEO |
Department | Contact's department at work Eg: Sales |
Email | Contact's email address Eg: jamessampleton@gmail.com |
Telephone numbers (Work & Mobile) | Respective phone numbers |
| Other phone numbers | Additional phone numbers
Note: You can add 1 value for this field in the Free and Growth plans, and 10 values in the Pro and Enterprise plans. |
Lifecycle stage | Lifecycle stage of the contact
Eg: New prospect, Returning customer, etc. |
Status | Status type Eg: Trial, demo, etc |
Has authority | If the Contact has the authority to take transactional/monetary decisions. |
Do not disturb | Contacts who've opted out of promotional or any other bulk email campaigns. |
Timezone | The timezone of the Contact Eg: Pacific Time - US & Canada |
Address | Door no, Street name Eg: 32, Baker Street |
City | Eg: Brisbane |
State | Eg: California |
Zipcode | Eg: 4030 |
Country | Eg: USA |
Facebook | Facebook username (auto enriched) |
Twitter | Twitter username (auto enriched) |
LinkedIn | LinkedIn username (auto enriched) |
Source | Source of the Contact- where it came from Eg: Organic search or the web, etc |
Campaign | The campaign that directed your Contact to your website or app |
Medium | The medium(channel) that led your Contact to your website or app |
Keyword | The search keywords that your Contact used |
Additional Information
This includes custom fields that capture additional information about the contact such as Date of birth, Alternate address, Years of work experience etc. The custom fields can be filled in manually through the contact forms or during import.

To customize contact fields,
Login to your account as an administrator.
Go to Admin Settings > Leads, Contacts, & Accounts > Contacts
Look for the contact field that you would like to edit via the search bar on the Settings page. If this is a dependent field, you will be able to view the controlling field like the below:

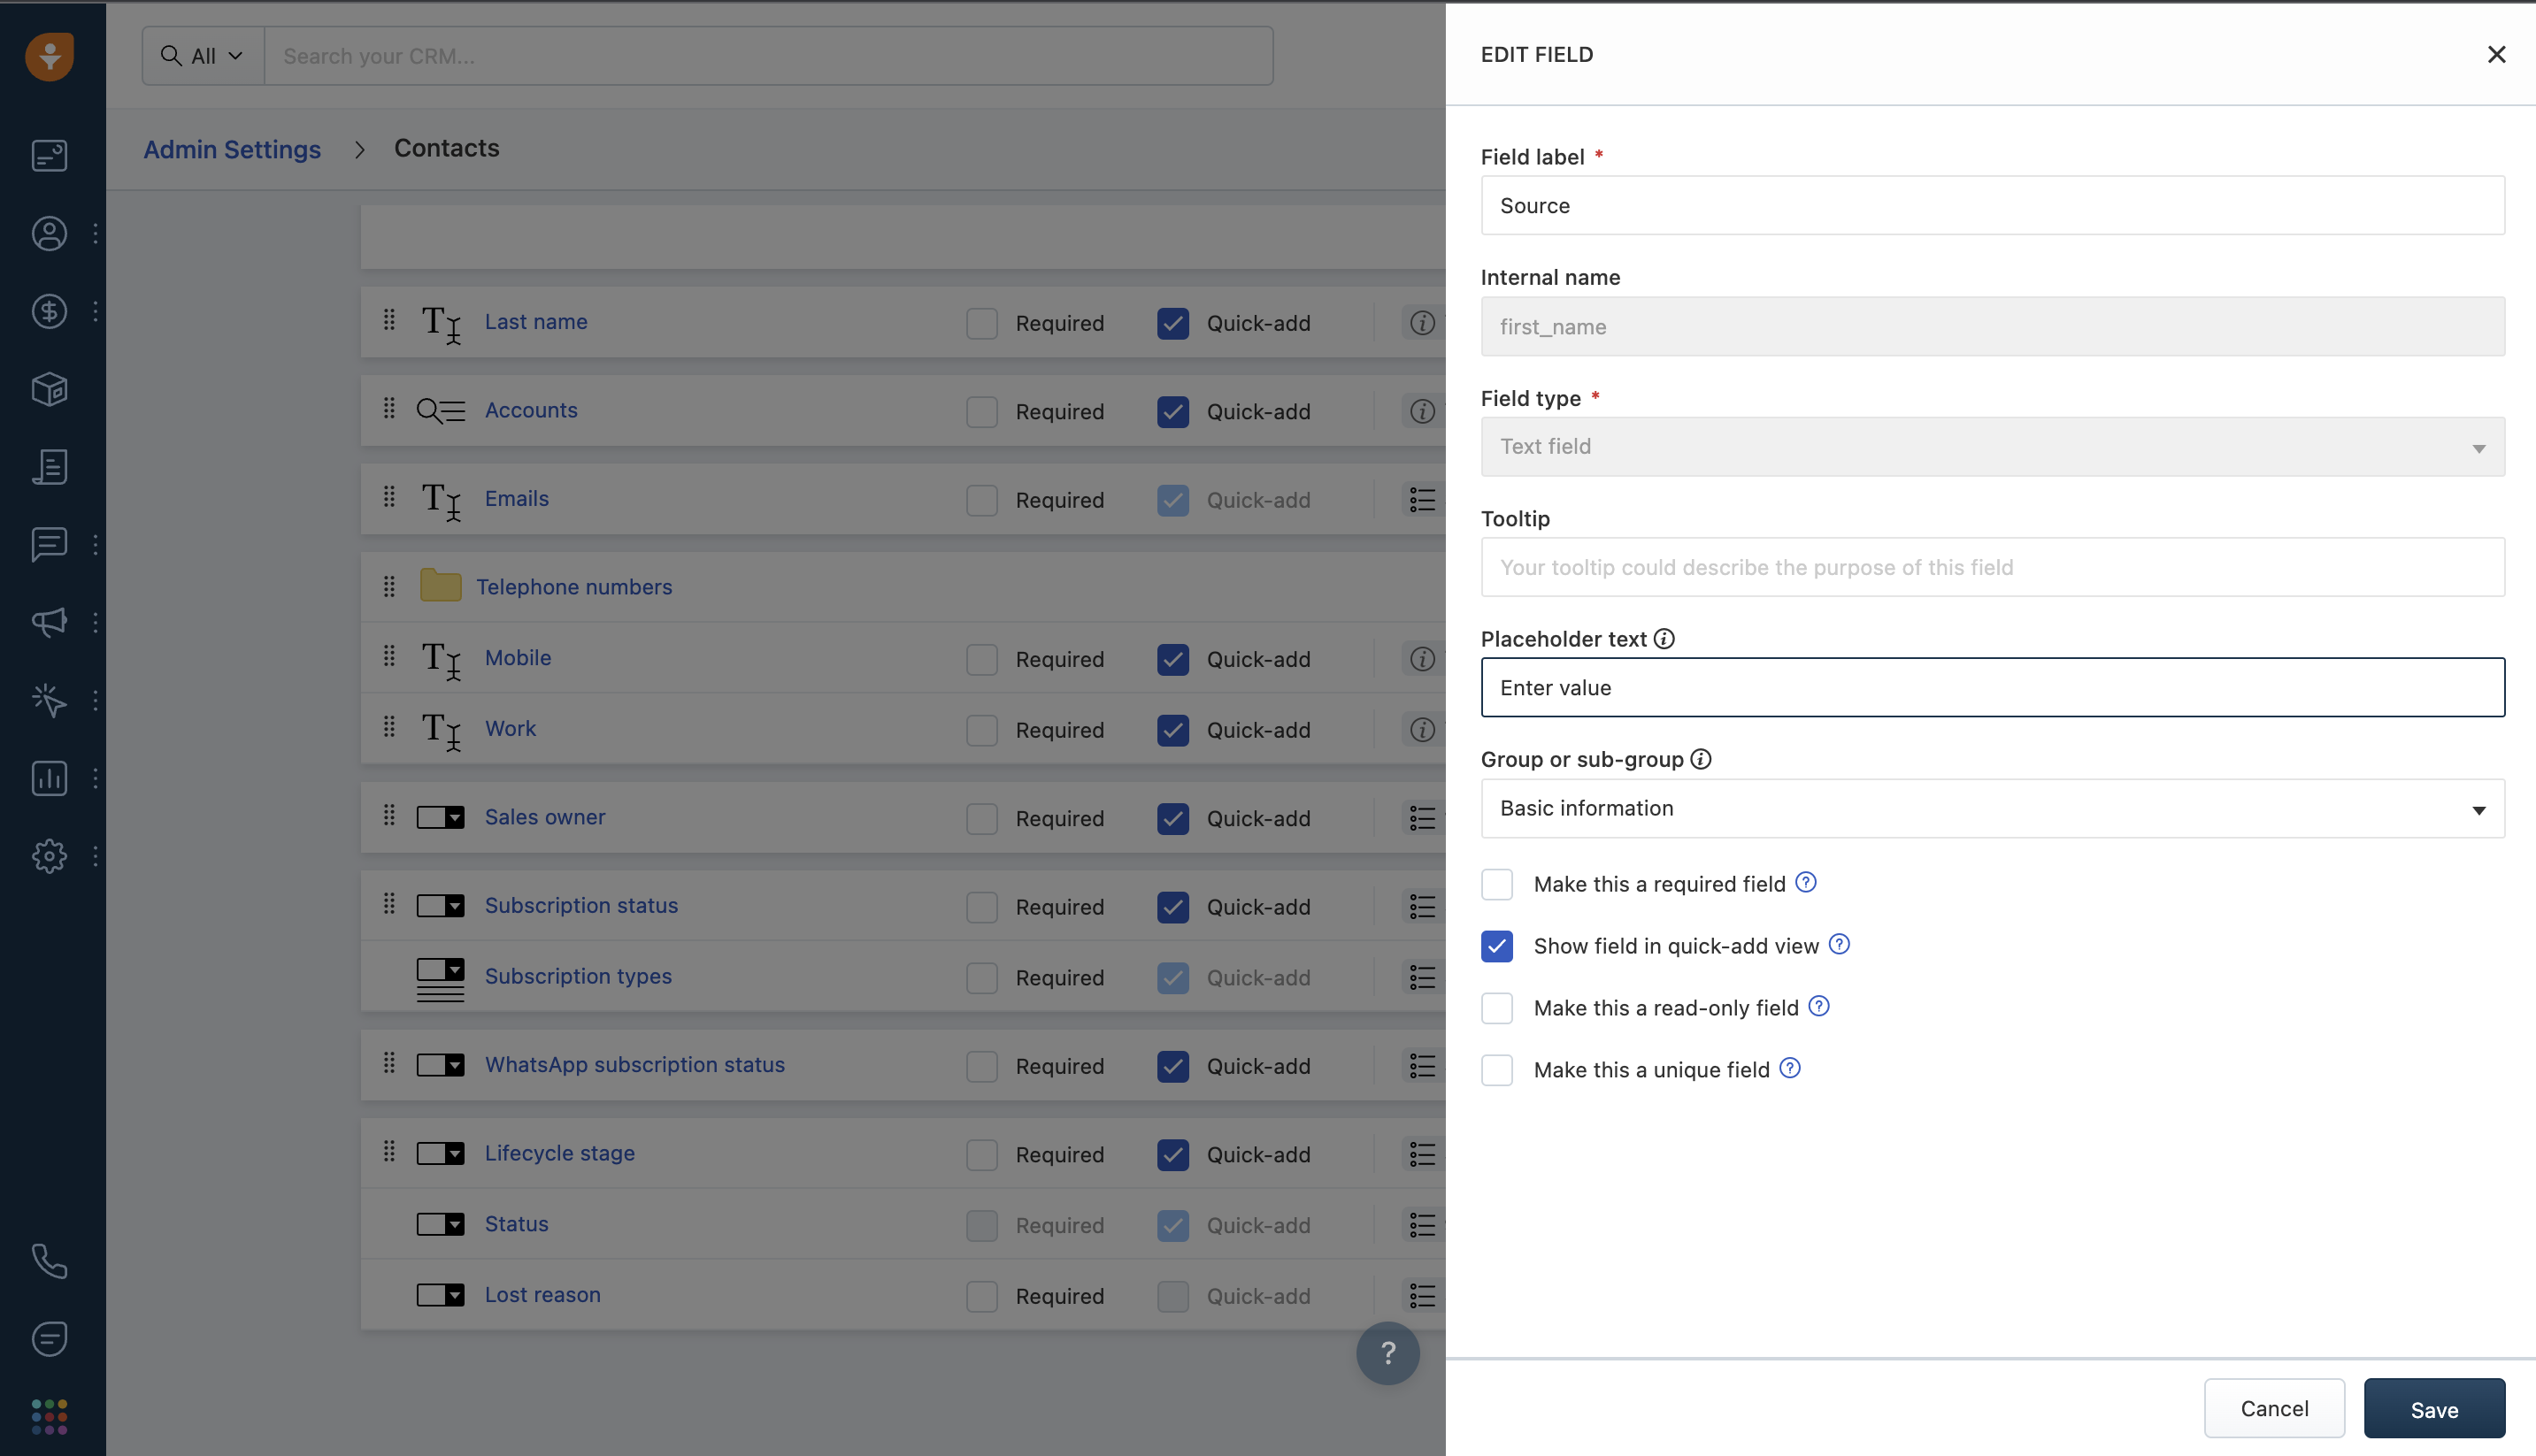
Click the Edit Field icon beside a field under Basic Information, Additional Information or Application data.
In the Edit Field Type overlay,
You can edit the Field Label, and add a Tooltip and Placeholder text. The Internal Name and Field type for default fields cannot be edited. However, they can be edited for custom fields. You can also move the field to a group of your choice by selecting from the Group or sub-group dropdown.
You may edit and delete the existing choices, or add new ones by clicking the Add choice button.
 When you delete the existing choices, the value for those records would become blank.
Once you are done, click Save.
Learn more about creating custom fields for contacts.
Did you find it helpful?
Yes
No
Can you please tell us how we can improve this article?
Articles in this folder -