Use the mobile app to download and store records for offline access. The mobile app offers three functionalities in offline mode– read access, create new records/sales activities, and sync later when online, edit and delete of data created offline.
How does this work?
In any organization, certain members of the sales team like the field sales teams are constantly on the move and use their mobile phones to update the web application. Such users may not always enjoy seamless connectivity to the internet.
With Offline mode, the mobile app allows users to cache selected records to the mobile device while online and access them offline. Here’s what the feature offers:
View records: Users can access and view records that have been downloaded/cached on their mobile devices. This can be done in one of two ways:
Manually downloaded records: Users can earmark a set of record views that can be downloaded to the device while they are online. This way, users can download an entire view in a single tap and make it available for offline access. Click here to understand how to download views.
Cached records: When a user is using the mobile app online, the app caches all of the data that the user is accessing. As soon as the device goes offline, the user will be able to access all of the cached data.
Create records: Users can create records and sales activities offline. All data related to the records and sales activities will be stored on the device and will be synced to the web application once internet connectivity is restored.
Users can also attach files and voice notes to the cached records or to those records created offline and sync to the web application once online. A check-in from a customer's location can also be done offline, the accuracy of checked-in location details depends on the device’s GPS capabilities when there is no network connection.
When does the app cache data?
Whenever the mobile is connected to the internet, there is a real-time cache of all the data that has been accessed, in addition to the views that have been manually downloaded. As soon as the app loses connectivity to the internet, the cache pauses and all records that have been already cached/downloaded will be accessible offline.
For records that have not been cached, users will be presented with a screen indicating they are offline. 
However, users can overcome this by downloading a set of records in bulk for offline access.
How to download records for offline access?
Users can earmark a set of record views that can be downloaded to the device while they are online.
Here’s how:
Go to Settings > Offline Preferences.
Click Download View. This brings up all the saved views of the four modules– leads, contacts, accounts, and deals. This also includes custom views you have created or the views shared with you by your team.

Choose the desired view and click the associated with this list. This downloads the records in that view to your mobile device.

The download of these records commences and you can view the status of the download. Once, the download is complete, these records are ready for offline access.
How to create records while offline?
Click on the + button from your home screen or the floating action buttonfrom list/detail pages to create a lead, contact, account, deal, sales activity, call log, and more.

This creates the record and stores it on the device. This record can be edited while offline to add more details.
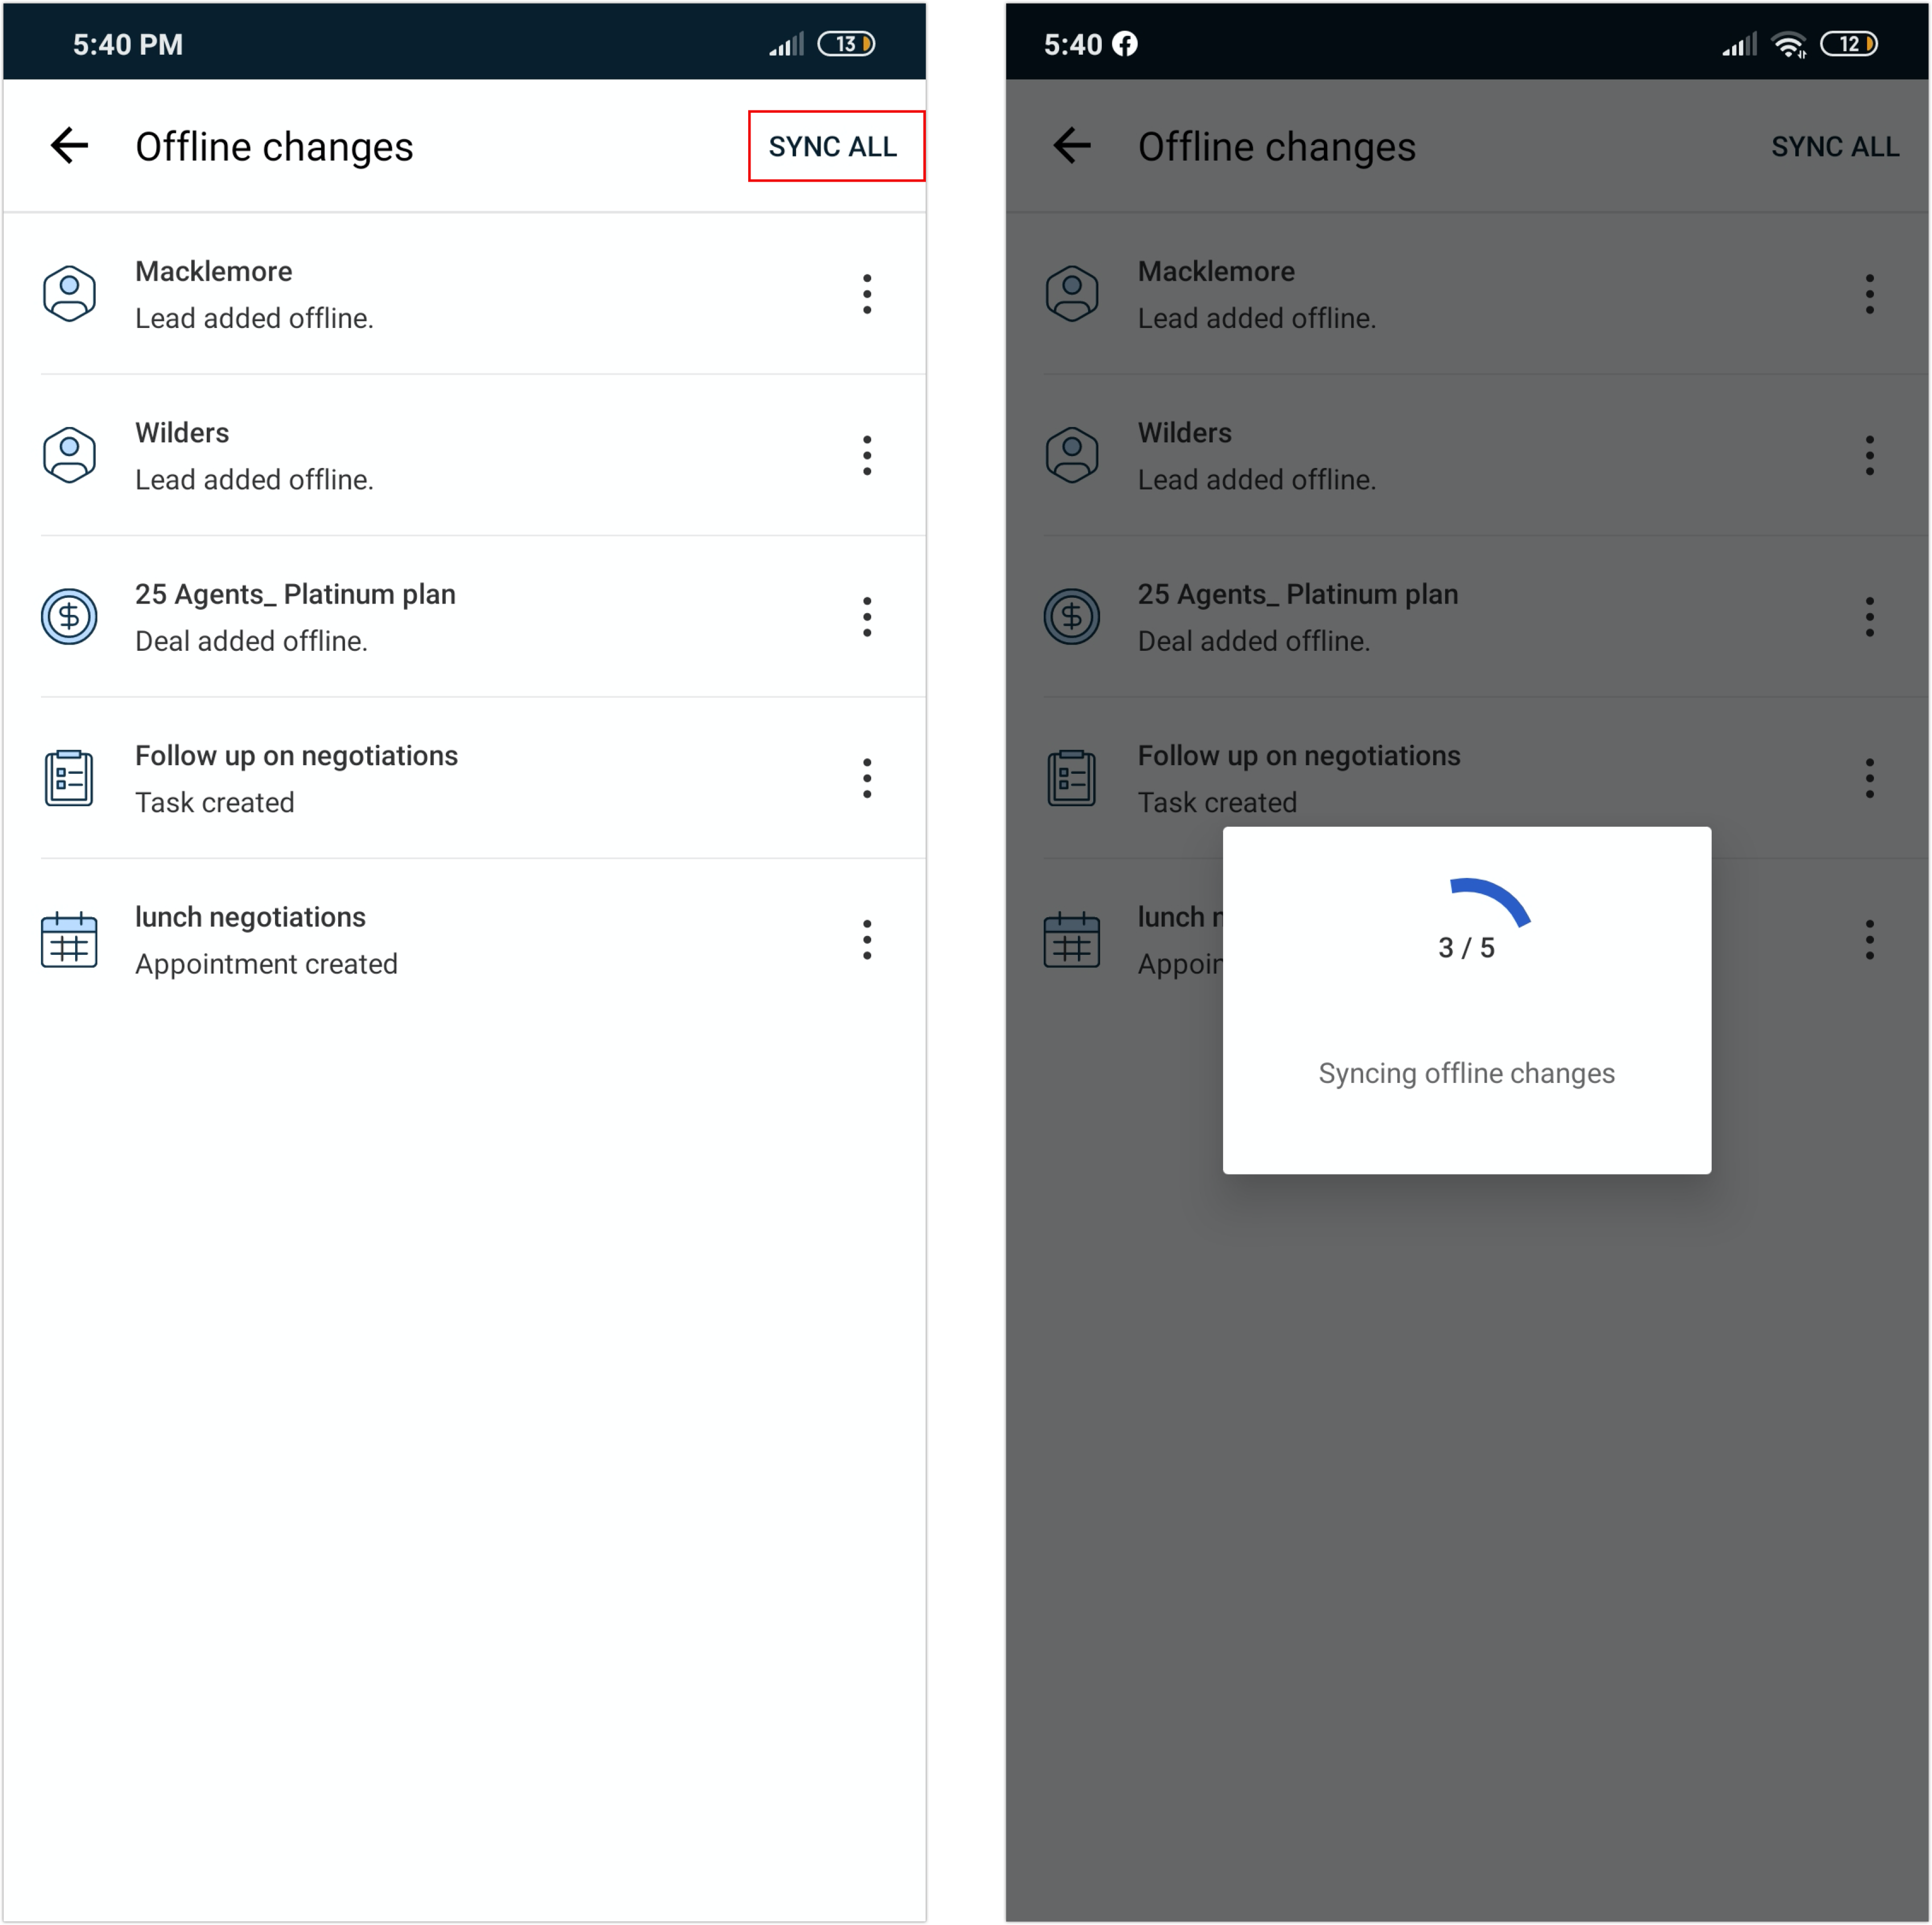
When internet connectivity is restored, users can sync the records to the web application. To sync records created and other changes, go to Elipsis icon > Offline Changes and click SYNC ALL.

This syncs all offline changes back into the web application. This is how you can manually sync new records and changes back into the web application.
However, you can turn on automatic sync to ensure that the sync happens without any user intervention once the device is online.
How to enable automatic sync of offline changes?
On your mobile app, click the Elipsis icon. This brings up the slider where you can access Settings, Support, Custom modules, and Offline changes.

Choose Settings. This opens the Settings page.
Click Offline Preferences. This opens the offline preferences page.

Turn on the toggle to enable automatic sync of offline changes.
NOTE: Leaving the toggle unchecked allows users to sync records manually.


