This article provides detailed information about the different options available in the Freshdesk article editor to enhance and format your content. For instructions on creating articles, see Create and Organize Knowledge Base.
The Freshdesk article editor provides different content types and a wide range of formatting options to enhance your content. You can see all these options at the top of the article editor, which includes various styling tools for paragraphs, text, tables, images, videos, and other advanced features. Furthermore, within each category and option, you will find specific attributes and values that can be utilized to enrich and refine your content.
The following sections provide details on the different formatting options you can use in the editor.
Format paragraph, text, and fonts
Paragraph formatting options
Add distinct paragraph styles to your content. To add paragraph style, click on the Paragraph  icon and choose the required text formatting option.
The options are:
- Normal: Use this to add the default text formatting for the paragraph.
- Heading 1- 4: Use this to add headings to your paragraphs. You can add upto 4 heading styles.
- Quote: Use this to add the text in a quote style. You can use this when you want to apply a unique style to your content.
- Code: Add text as a code block. Use this style when you want to add
Font formatting options
The various font formatting options you can apply to your content are:
- Font family: Choose from a wide range of fonts to apply to your content.
- Font size: Click on the font size option and choose from different font sizes.
- Text color: Use the available default colors or add hex code to add a text or font color/
- Background color: Add a background color to your text using the different color options available or add hex code.
Text formatting options
Add different text styles, such as bold, italics, and underline, to enhance the look of your content.
You can also use the clear formatting option to remove all the formatting styles added. Select the text you want to remove the applied formatting and click on the clear formatting icon.

Add bullets and numbering lists
Bullets
Use bullets to add your content in a list form. To add bullets, click on the bullet list icon and choose the preferred bullet style. The options are default, circle, disc, and square. To add sub-bullets, press the Tab key.

Numbered list
Use a numbered list to add instructions or steps. To add a numbered list, click on the numbered list icon and choose the preferred style. The options are Lower Alpha, Lower Greek, Upper Alpha, Upper Greek, Upper Roman.
Use alignment and indentation options
Align text
Select the text or paragraph and click on the align text option. You can align the text left, right, center, or justify.
Indentation
Increase or decrease the text indentation using the indentation options.
Add tables, images, files, and videos
Tables
Use Tables to present large data in an easily consumable form. Click on the Table icon and choose the number of rows and columns you want to add.
To view additional table formatting options, click anywhere inside the table cell.
The options are:
- Table header
- Delete table
- Insert row/columns
- Table border styles - dashed borders, alternate rows, no borders
- Merge and split - vertical and horizontal
- Cell background color
- Vertical text alignment within the cell - Top, middle, bottom
- Horizontal text alignment text within the cell - left, right, center, and justify
- Cell styles - highlighted, thick
Image
To add images to your article, click on the image icon. You can drag and drop the image or browse to the location on your device.
Note: The maximum size limit for the inline images is 5.2 MB.

Click on the image to view additional image formatting options:
Replace image | Use this to replace an existing image. |
Align image | Align your images left, right, or center. |
Delete image  | Delete the added image. |
Insert link  | Add a hyperlinked clickable image. |
Annotate image | Use this option to edit the image within the editor. You can add borders, text, shapes, colors, arrows, etc. When you click on the annotate icon, the image opens in a new window where you can add styles to your image. Once done, click Save. |
Display image | Choose to display the image inline or break after the text. |
Border styles | Add rounded, bordered, or shadow styles to the image. |
Alternate text  | Add an alternate text to your images. |
Change image size  | Change the width and height of the image in pixels. |
Video
To add a video, click on the video icon.
Add the video link. You can add the URL or Embed the code. For example, you can add a YouTube URL.
Attach files
Include files such as Excel, Pdfs, or Word docs to your articles as supporting information. Click on the Attach file  icon and add a file.
Note: The maximum file size you can add is 25 MB. You can add any number of files. However, the total attachment size allowed is a cumulative of 100MB.
Add table of contents (TOC)
Automatically generate a table of contents (TOC) for your article based on the heading levels in your article. TOC makes it easy for your users to quickly understand the structure of your article and also helps them easily navigate to the preferred section.
To add a TOC, click on the TOC icon  . You can also choose the levels of headings you want to display in the TOC. For example, you can choose to show only the H1 in the TOC and remove the rest.
Here's how a TOC looks after the article is published. If you want to share a specific section of an article, you can click on the relevant heading in the TOC and copy-paste the URL of the heading (#heading) to the end of the article URL.

How to add hyperlinks within articles?
If you want to manually hyperlink sections within an article, for example, let's say you want to hyperlink the section Bullets in the Paragraph formatting options section.
For this, go to the generated TOC and copy the Bullets link. Alternatively, move the cursor over the "Bullets" section and click Edit Link. You will see the anchor tag.
Copy the URL and paste it anywhere in the other section.
Note: The ToC option is available only from Growth plan.
Use quick insert options
Note: The quick insert icon only appears when the cursor is moved to an empty area in the editor and is available only from Growth plan.
Quick insert allows you to enrich your article with additional content formatting options that you can quickly add, without disrupting your flow while drafting your content.
To use the quick insert option, move the cursor to an empty line to view the Quick Insert icon  to view the options:
- Insert image: Adds an image.
- Insert video: Embeds a video based on the video URL that you enter.
- Callout cards: Add admonitions or callouts, such as note, info, idea, warning or tip add important callouts in your content.
- Insert horizontal line: Insert a horizontal line where the cursor is present
- Insert template: Insert ready-to-use templates.

Tip: You can change the colour of the callout cards by editing the source code. To do this, insert any available callout card from quick insert and then go to the code view (</>) on the text editor. Change the type mentioned in the source code of the callout card (class="fd-callout fd-callout--type") to any of the following: note, info, idea, warning or tip. This will change the colour automatically
Other formatting options
 Distraction-Free Editing: With the Fullscreen option, your team can write articles without any distractions.
 True Code View: Customize your articles by editing the HTML source with code formatting and coloring. The code view will also locate tags based on the cursor/selection in the WYSIWYG view. Options include:
- Line number on the source code
- Syntax highlighting
 Clean Code Snippets: Add code snippets to your articles. You can also choose the language. Once you add the code, the snippet will be highlighted with the syntax; which makes reading codes much easier.
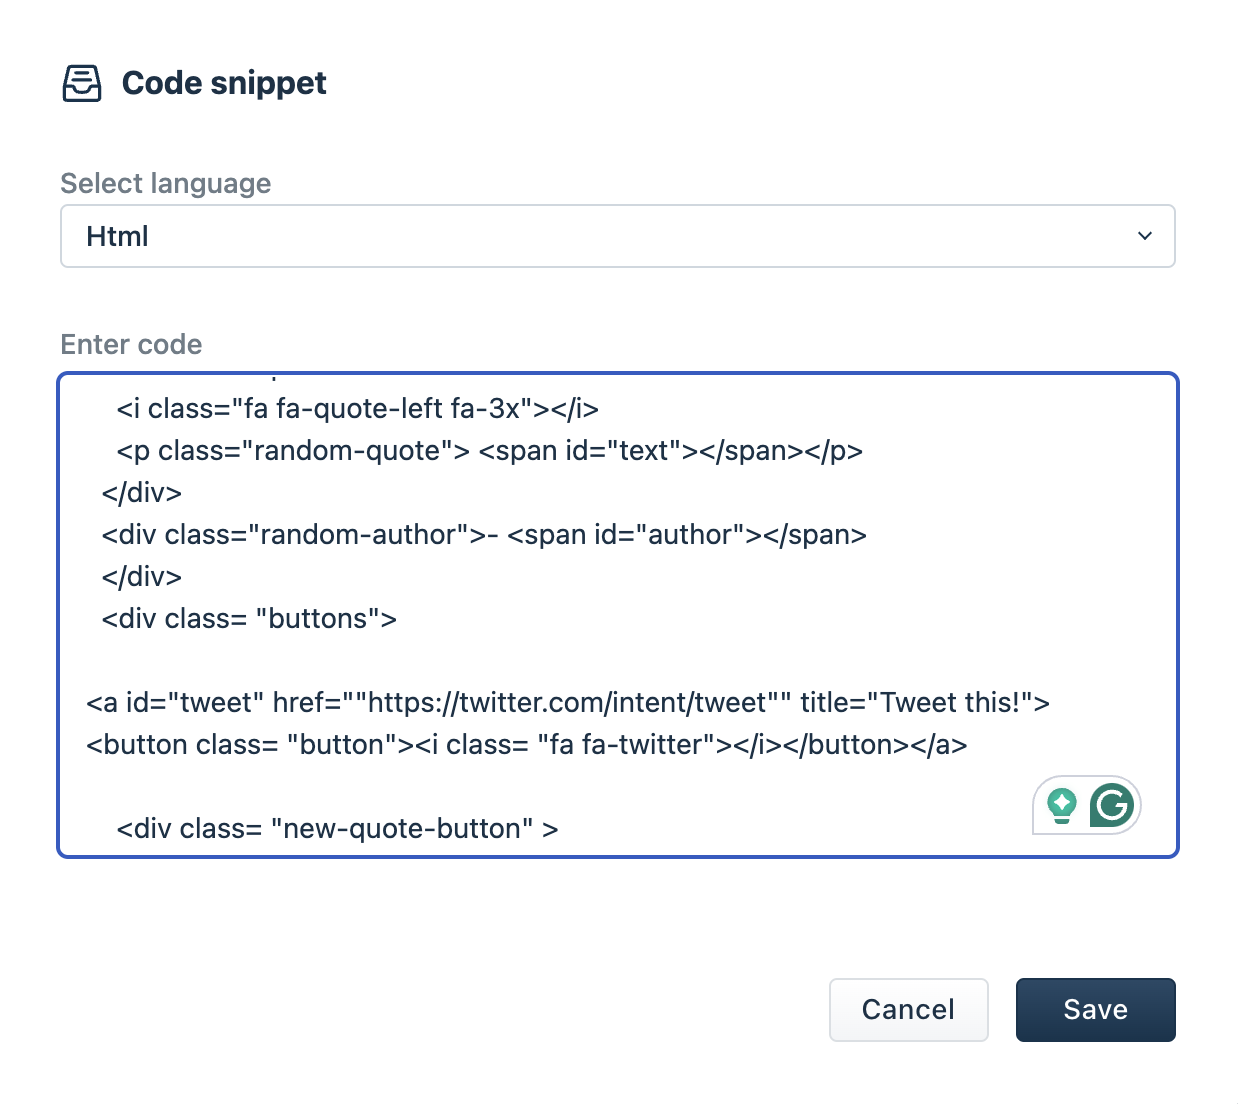
 Quickly add styles to your paragraphs: When editing your article, you can add styles such as Gray, Bordered, Spaced or Uppercase to your paragraphs.
 Flexible Copy-Paste Options: Copy and paste content from other sources and choose whether you want to retain all formatting, optimize it, or just paste it as plain text.
 Insert hyperlink: Link other solution articles or other pages using the URL. Select the content of the article and click Insert link.
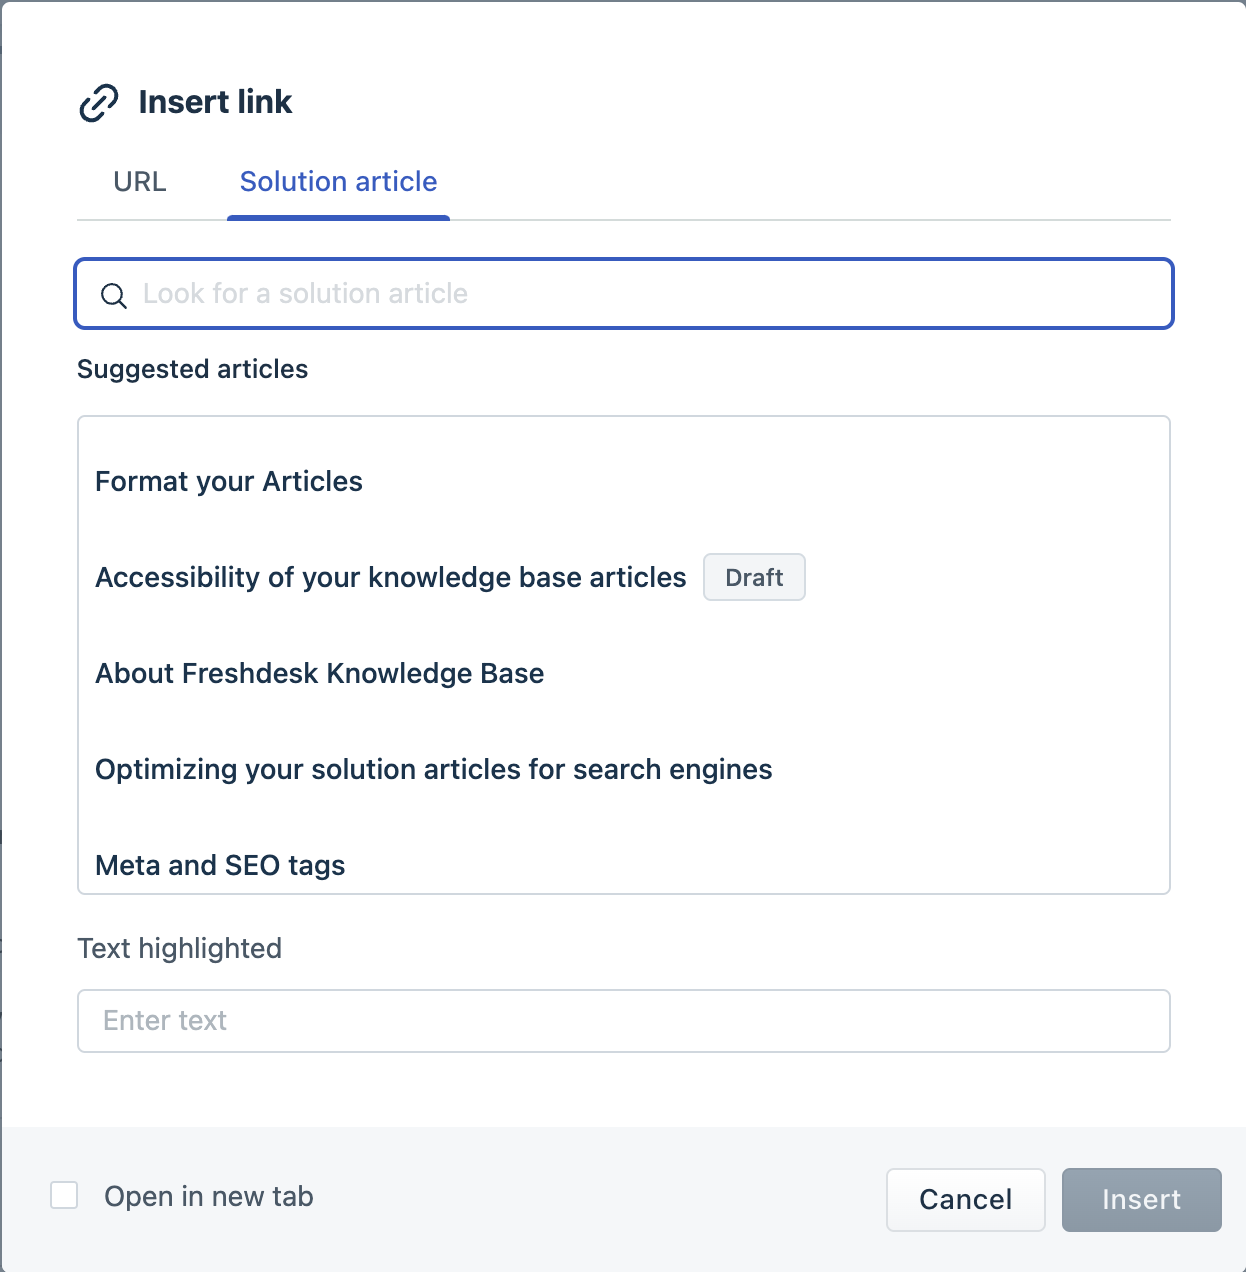 You can add URLs of other web pages or directly add the solution articles from within your Knowledge Base. Choose the articles from the Suggested article list, enter the text you want to highlight, and click Insert.
Note: The interlinking articles feature is available from the Growth plan.