Get the most out of your business emails by using the web application's bulk email feature. Narrow your recipients using filters and list views, select them and use custom templates and placeholders to bring your emails to life. Also, track the status of the emails and schedule them to be sent at convenient times in different timezones.
To send bulk emails,
Go to the Contacts module.
Narrow down to the intended list a set of recipients by
Selecting a view
Using filters to refine a list of contacts
Select individual contacts by clicking the checkbox beside their names, or you can just click the checkbox beside NAME to select all the records from a view.

On selecting the recipients, the bulk actions tray appears. Click the icon.
Compose your email in the overlay. You can use placeholders to personalize your emails, or you can just select a template from the drop-down. You can also add file attachments from your device. You can also personalize individual emails from the recipient list by clicking the button.
Additional records can be added from the bulk email overlay section even after selecting multiple contacts from the list view.
Note: Up to 25 additional records can be added
You can enter the email address of leads who are not present in the web application, and you will be able to see a new lead created for you.
Note:
- Only users can be added in the CC section while sending bulk emails.
- CC can be added for 500 recipients per day across all users for the account. If the limit exceeds, emails will be sent, but users will not be CC'd.
- While sending bulk emails for contacts, you can enter the email address of the contact and the web application will create a new contact for you.
- Metrics for Bulk email might take sometime depending on the number of recipients. Kindly allow sometime and check back once all the emails are sent to the recipients.
Users can be added in the cc section
To personalize emails for specific recipients, click the button. This expands the compose window and brings up the list of recipients.
Click the recipient whose email you wish to customize. Make changes to the email on the compose window. The changes will be auto-saved and you can now view a Personalized tag next to the name of the recipient.

Similarly, you can add or remove recipients who need personalized messages.
Click . This brings up the email scheduler overlay.
How to create a bulk email template?
Instead of composing your email from scratch, you can also make use of an exisiting email template for your bulk email.
To do so, once you've select your recipients > Bulk email, click on the "Use template" button to use an existing template. To create a new template, you can navigate to Sales Conversations > Email template and have a new template added.
To know more about email templates click here.
Scheduling the bulk email
On the email scheduler overlay, you can:
Give a name to your email blast. This helps you locate it while looking for bulk email metrics.
Opt to Send now or to add a schedule to your bulk email (helpful when you send emails to recipients in different time zones)
Track the status of your email by marking the checkbox titled 'Track open, click and bounce rates'
Link conversation to a lead so that the email appears in the recent conversation section
Add unsubscribe link

Click (or if you've added a schedule to your email). This sends out the bulk email to the recipients.
How many emails can I send in a day?
You can send as many emails as is allowed in your subscribed plan. Each plan has a limit on the number of emails per user can send in bulk in a day.
Growth - 250/day
Pro - 1000/day
Enterprise - 5000/day
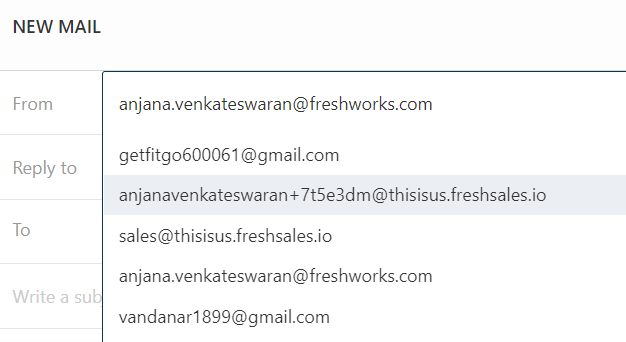
To use a different from email for your bulk email, you need to add a team inbox email address. To do this, you can navigate to Admin settings > Team inbox.
You will have to verify the same email address before making use of it.


How to send out a bulk email using an html template I created?
To make use of a html template you have created, you can convert it to an HTML code using the following application: https://wordtohtml.net/ and use the code view option to insert this HTML code in your email template : <>
Does the receiver of a bulk mail see the other recipients of the email blast?
The receiver of a bulk email will not know that it's a bulk campiagn and cannot see other email addresses(just like how BCC works, here to section itself works like end to end since it's a bulk email). Also, you can only add users in the CC and not contacts.
How to pull a report of the bulk email sent?
You can access quick metrics under Sales conversations > bulk email > Bulk email metrics.
To get a report, you can navigate to analytics, use the metric "Sales emails" and filter out your bulk email data using the subject.
What are the common reasons why a bulk email fails to send?
-The bulk email limit varies from one role to another or how it's been customized in the admin settings as shown. Kindly check if the daily limit has been exhausted.
- Please check if your contacts have subscribed to Non-marketing emails. In other words, the susbcription status should be subscribed and subscription type type should be Non-marketing emails.