How to Use the WYSIWYG Editor to Create Variations?
Modified on: Tue, 10 Aug, 2021 at 12:18 AM
Creating a variation in A/B testing may appear ambiguous if the options are misunderstood. This article will throw some light on the options available to create variations when you use the web application.
What happens when you click on an element on your page?
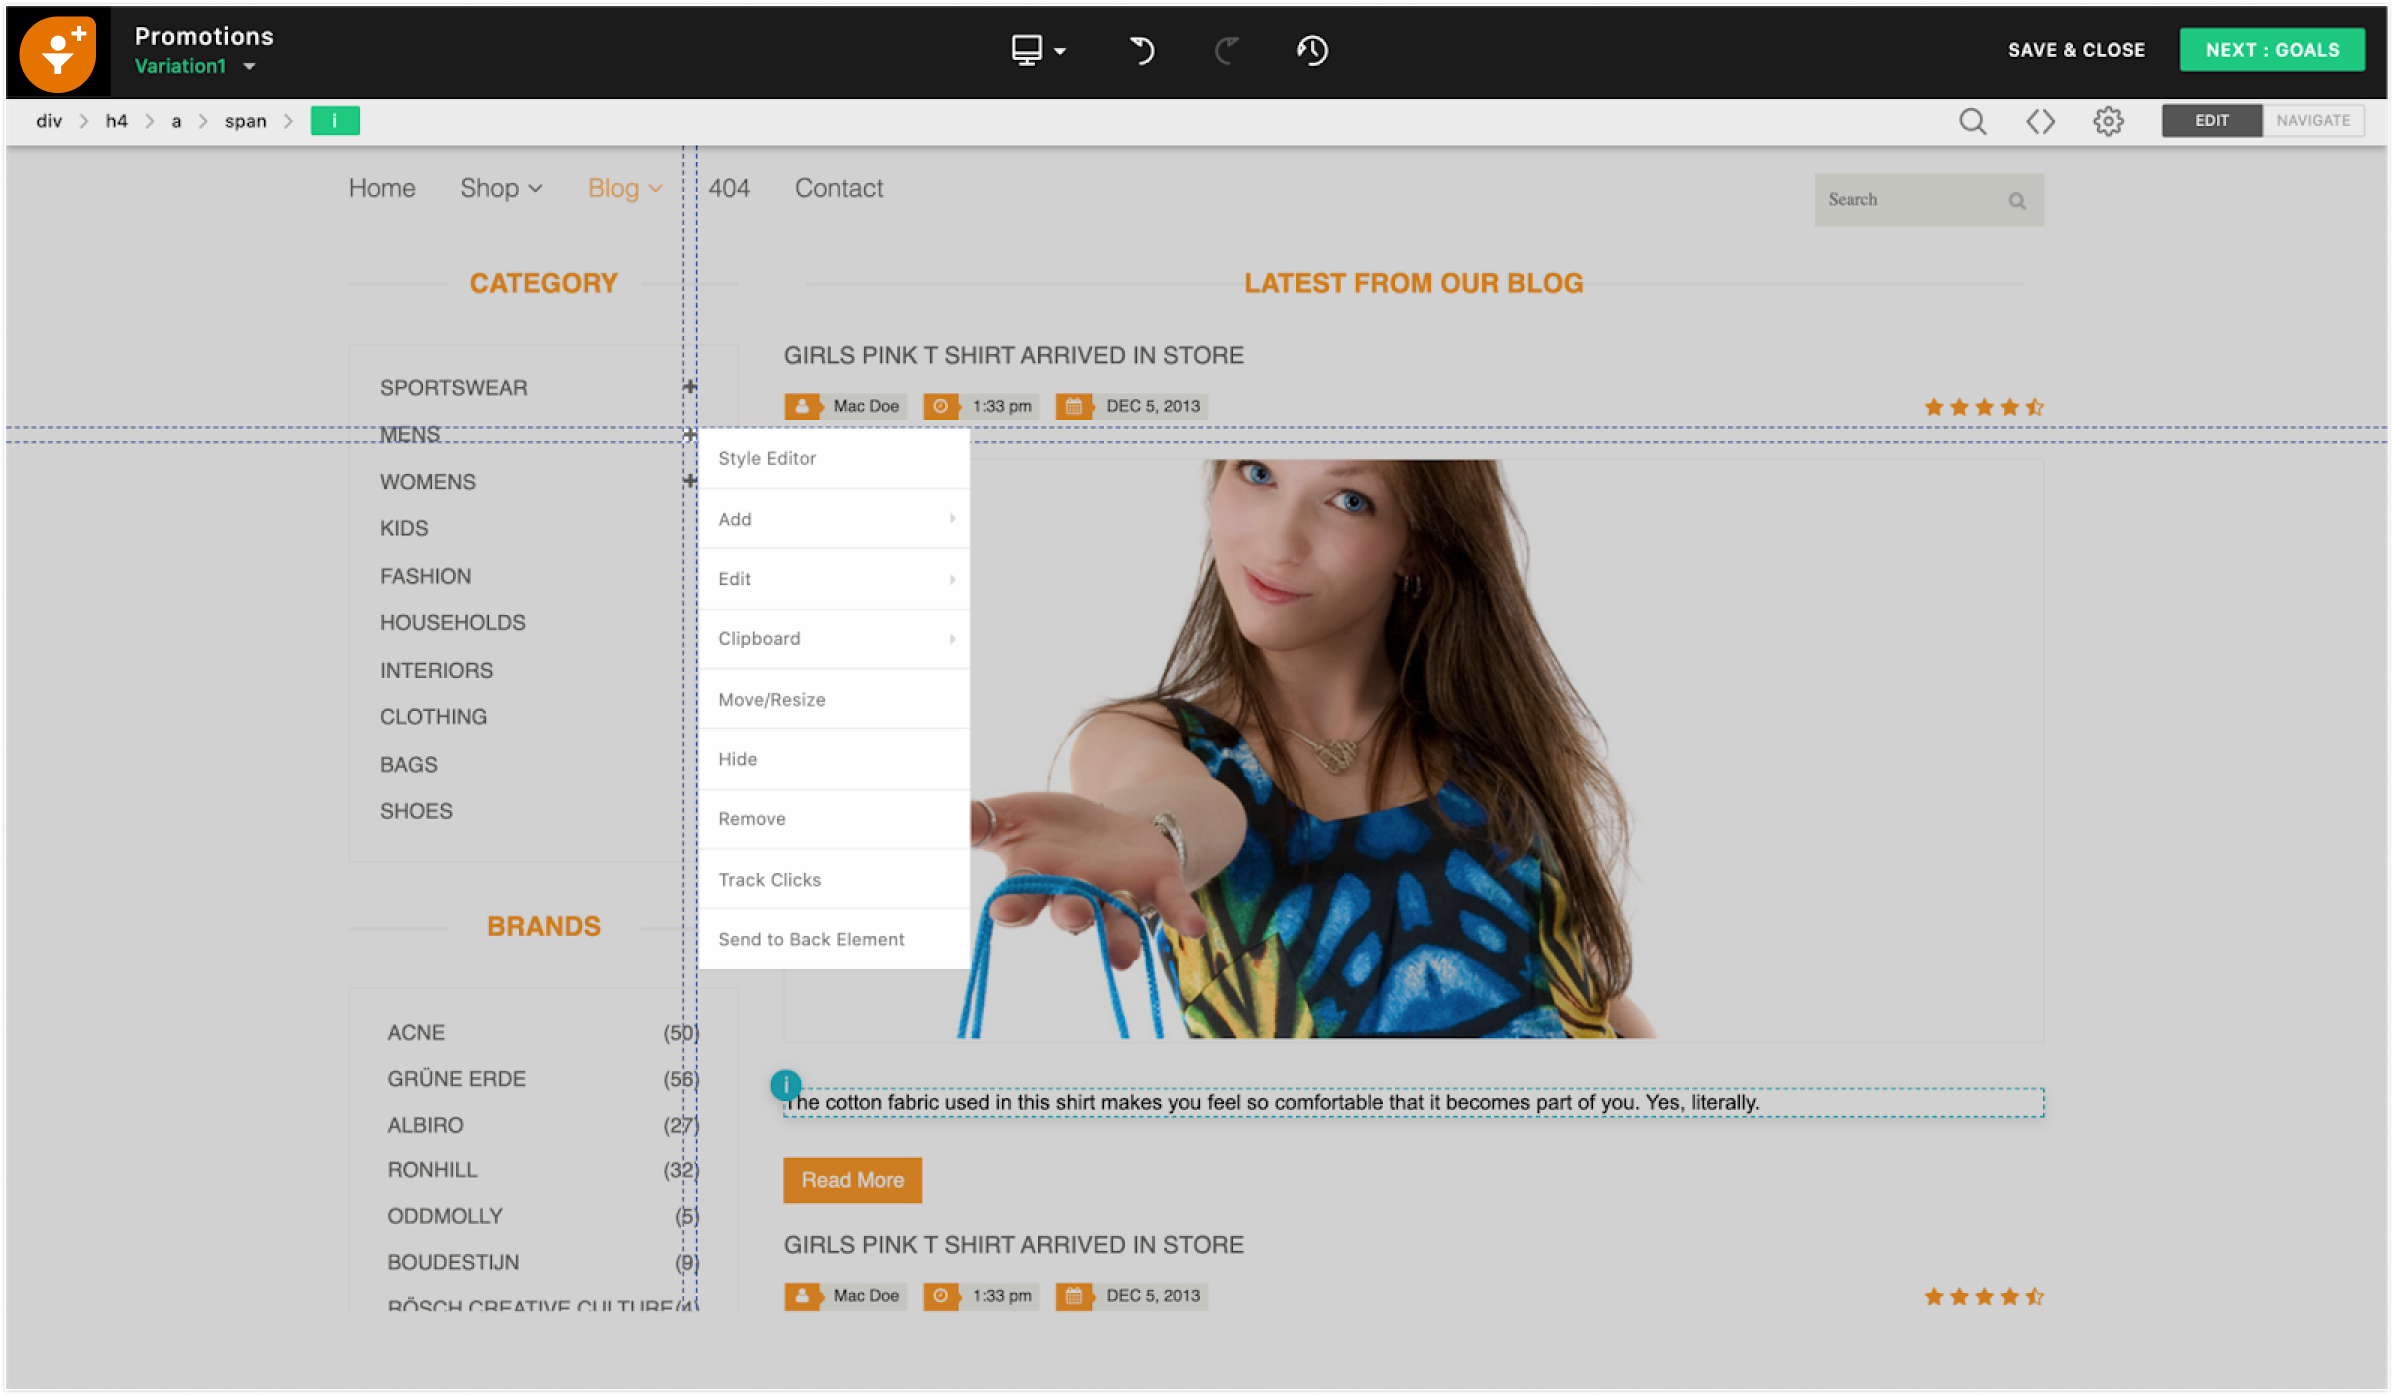
The web application’s WYSIWYG editor opens up with all the different actions, that allow you to create a variation from the original page.
You can configure multiple variations intended for various segment audiences.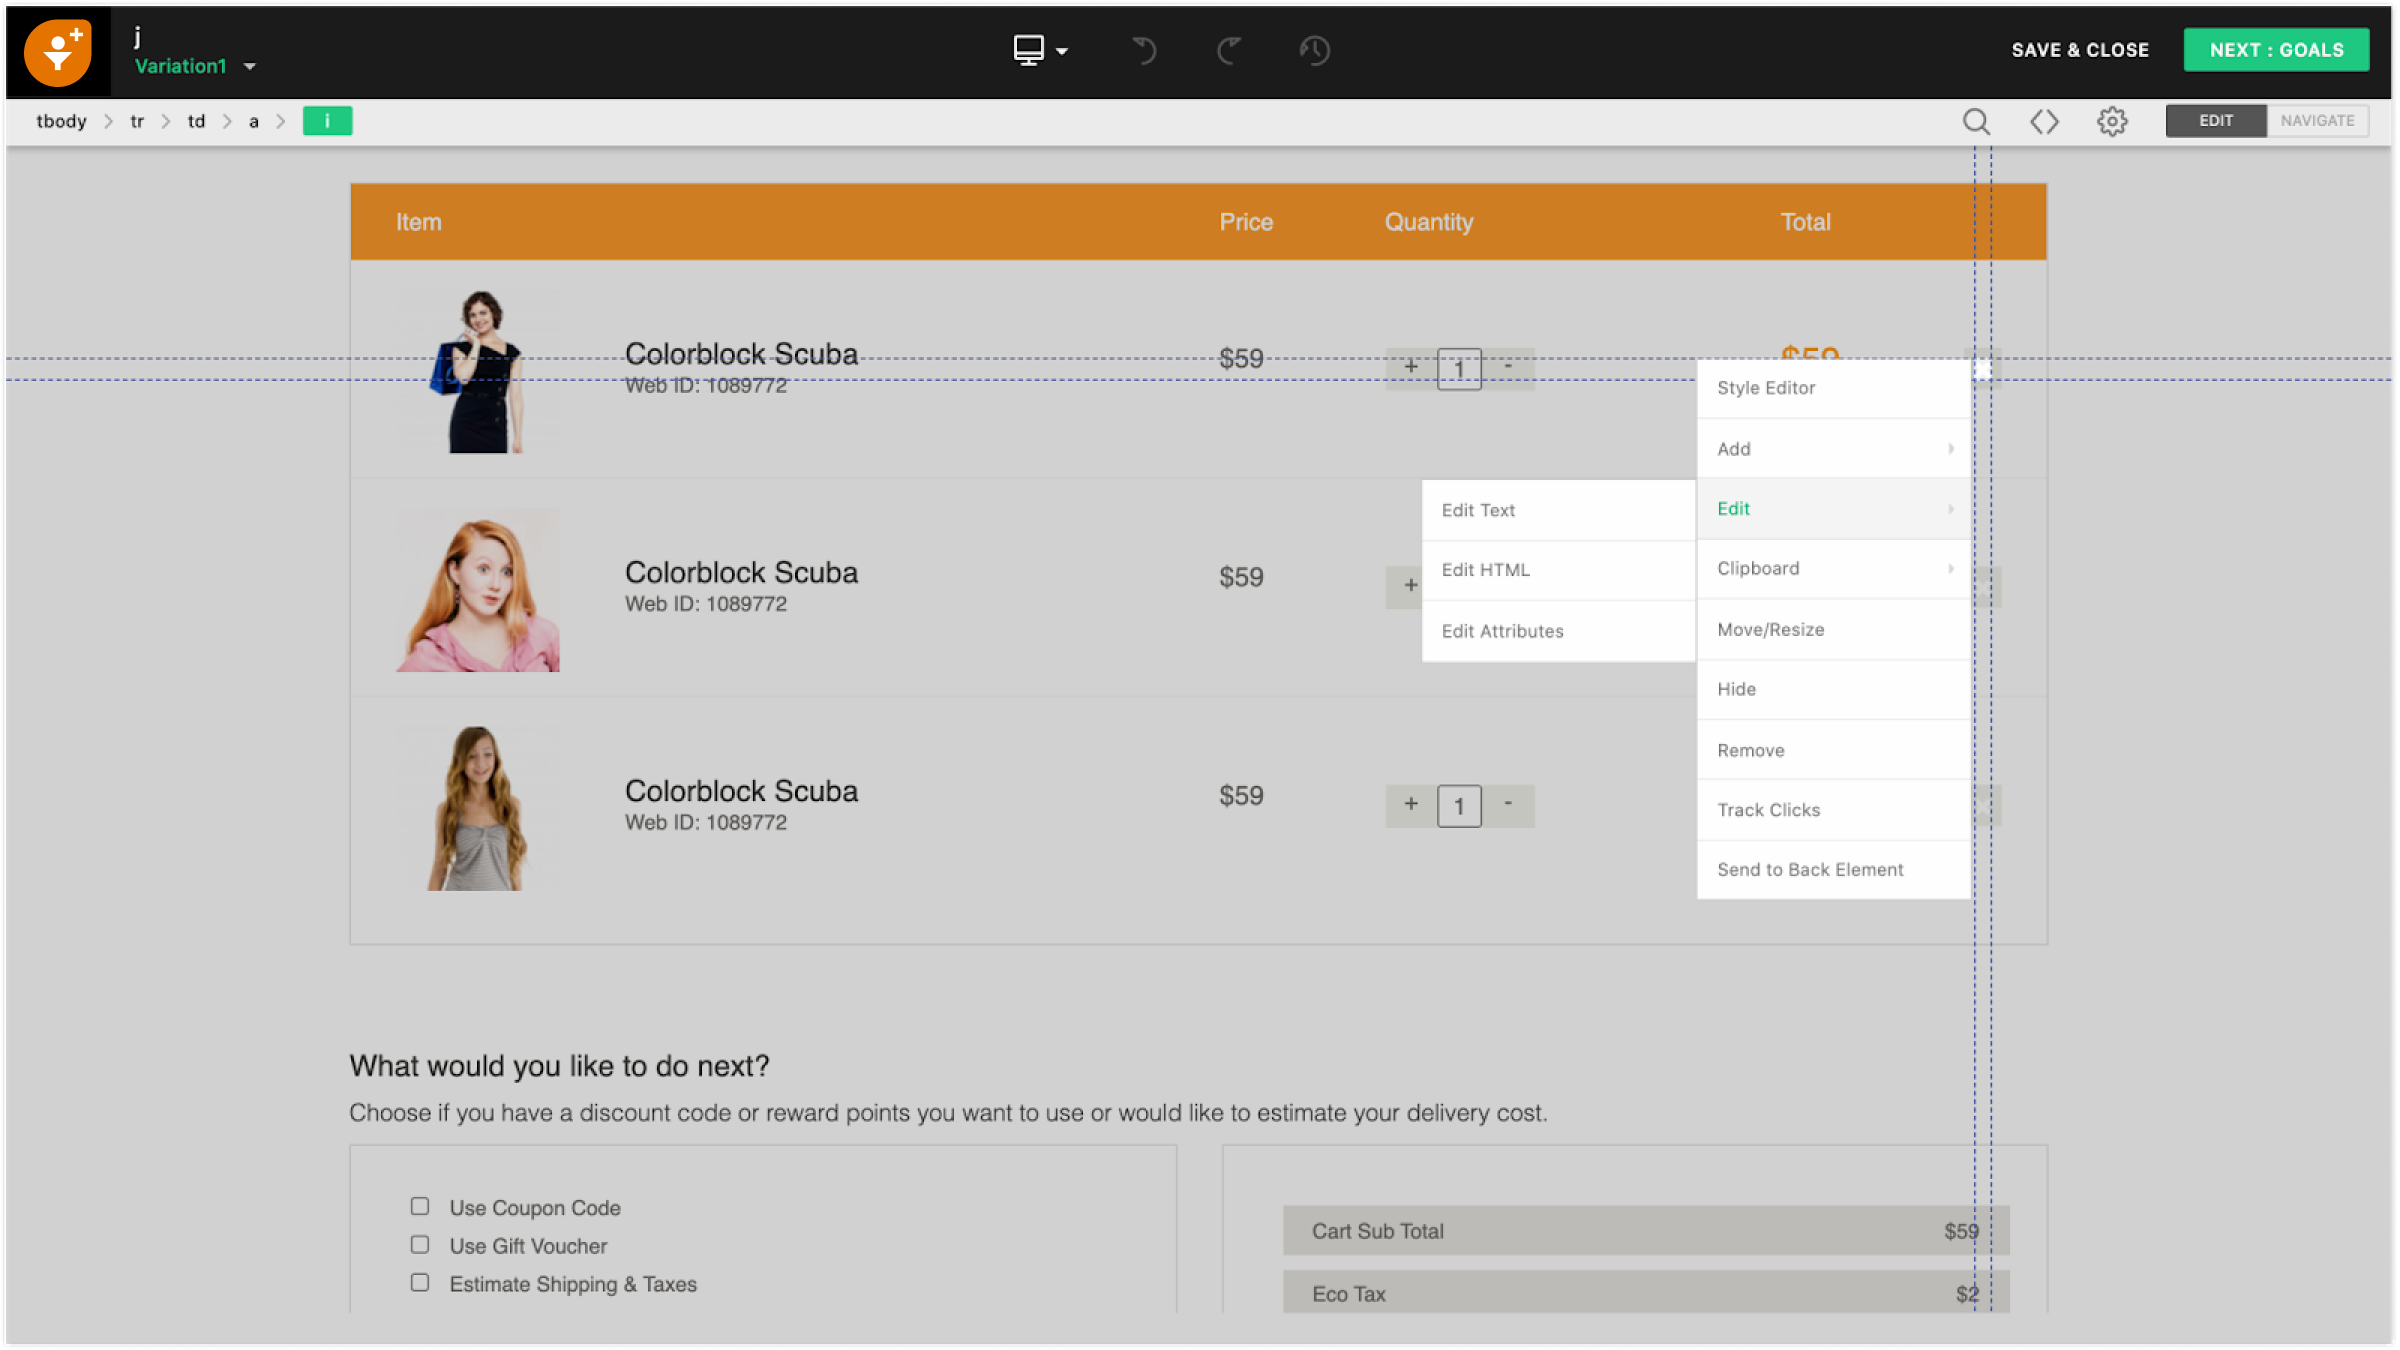
WYSIWYG editor options
The following table explains the options present in the WYSIWYG editor:
Action | Description |
Style Editor | This option allows you to make multiple changes with text, background, border, layout, dimension and, UI in an editor. |
Add Text | This option allows you to insert a paragraph with provisions to change the font style, family, and colour. |
Add Image | This option allows you to import an image to your webpage. Supported file formats are .jpg, .jpeg and .png. |
Add HTML | This option allows you to add a new HTML element on your web page. Eg: Image carousels, custom menu, and widget. |
Add Hyperlink | This option allows you to add a hyperlink to an element. |
Edit Text | This option allows you to edit the text of an element. |
Edit HTML | This option allows you to edit the HTML code corresponding to a particular element. |
Edit Attributes | This option allows you to modify the attributes of HTML elements such as class, style etc. |
Cut Element | This option allows you to cut elements. |
Copy Element | This option allows you to copy elements. |
Move/Resize | This option allows you to move or resize a particular element on the page. |
Hide | This option allows you to hide a particular element. |
Remove | This option allows you to remove a particular element. |
Track Clicks | This option allows you to track the number of clicks on the element. |
Send to back element | This option allows you to go to the previous page. |
Did you find it helpful?
Yes
No
Can you please tell us how we can improve this article?
Articles in this folder -