Marketers can apply segmentation to heatmaps. This way you can filter data from the captured visitors. The segmentation functionality supports multiple input options at once to filter data.
Here's how you can filter visitor data:

Segmenting based on Traffic:
Source | Helps to segment the reports of the visitors who directly landed on the test page URL |
Medium | You can filter the data collected based on the medium such as Paid, Organic, Email, Social, Direct visitors. |
Campaign | You can filter the data based on campaigns and by their UTM parameters |
Landing page URL | Segments the data based on the visitors who land first on a specific URL |
Referrer URL | Filtering can be done from the page where the user has been referred. For example, a visitor might land on your test page via Facebook, Google, and so on |
Segmenting based on Technology:
Operating system | From which OS the data is collected eg: Windows, Mac, Linux |
Browser | From which browser the data is collected eg: Chrome, Firefox, Safari |
Device type | Filtering based on the type of device used by the visitor while accessing the site eg: Mobile, Desktop & Tablet |
Segmenting based on Geography:
Location | Segmenting can be done based on visitor’s geographical location eg: UK, US |
Advanced Segmenting:
Day of the week | You can filter heat map data from a particular day of the current week |
Query parameter | Segmenting can be done based on the value of the Query Parameter in the URL |
IP Address | Segmenting can be done based on the IPv4 address of the users |
Segmenting based on Custom Attributes:
Custom attribute | You can segment and view the test results with the custom attributes created earlier in project settings |
Understanding Match Types:
There are two match types And & OR for conditional segmenting.
AND | Results will be displayed only if all the filter conditions match |
OR | Results will be displayed if any one of the filter conditions match |
You can add more rules with the same match type by clicking the + icon.

You can add another group with a different match type by clicking the Add another group button.
Note: You can delete the conditions created by clicking on the close icon provided
How to apply the created segment:
Once we created the segment, we can apply them for the Heatmap results in two ways.
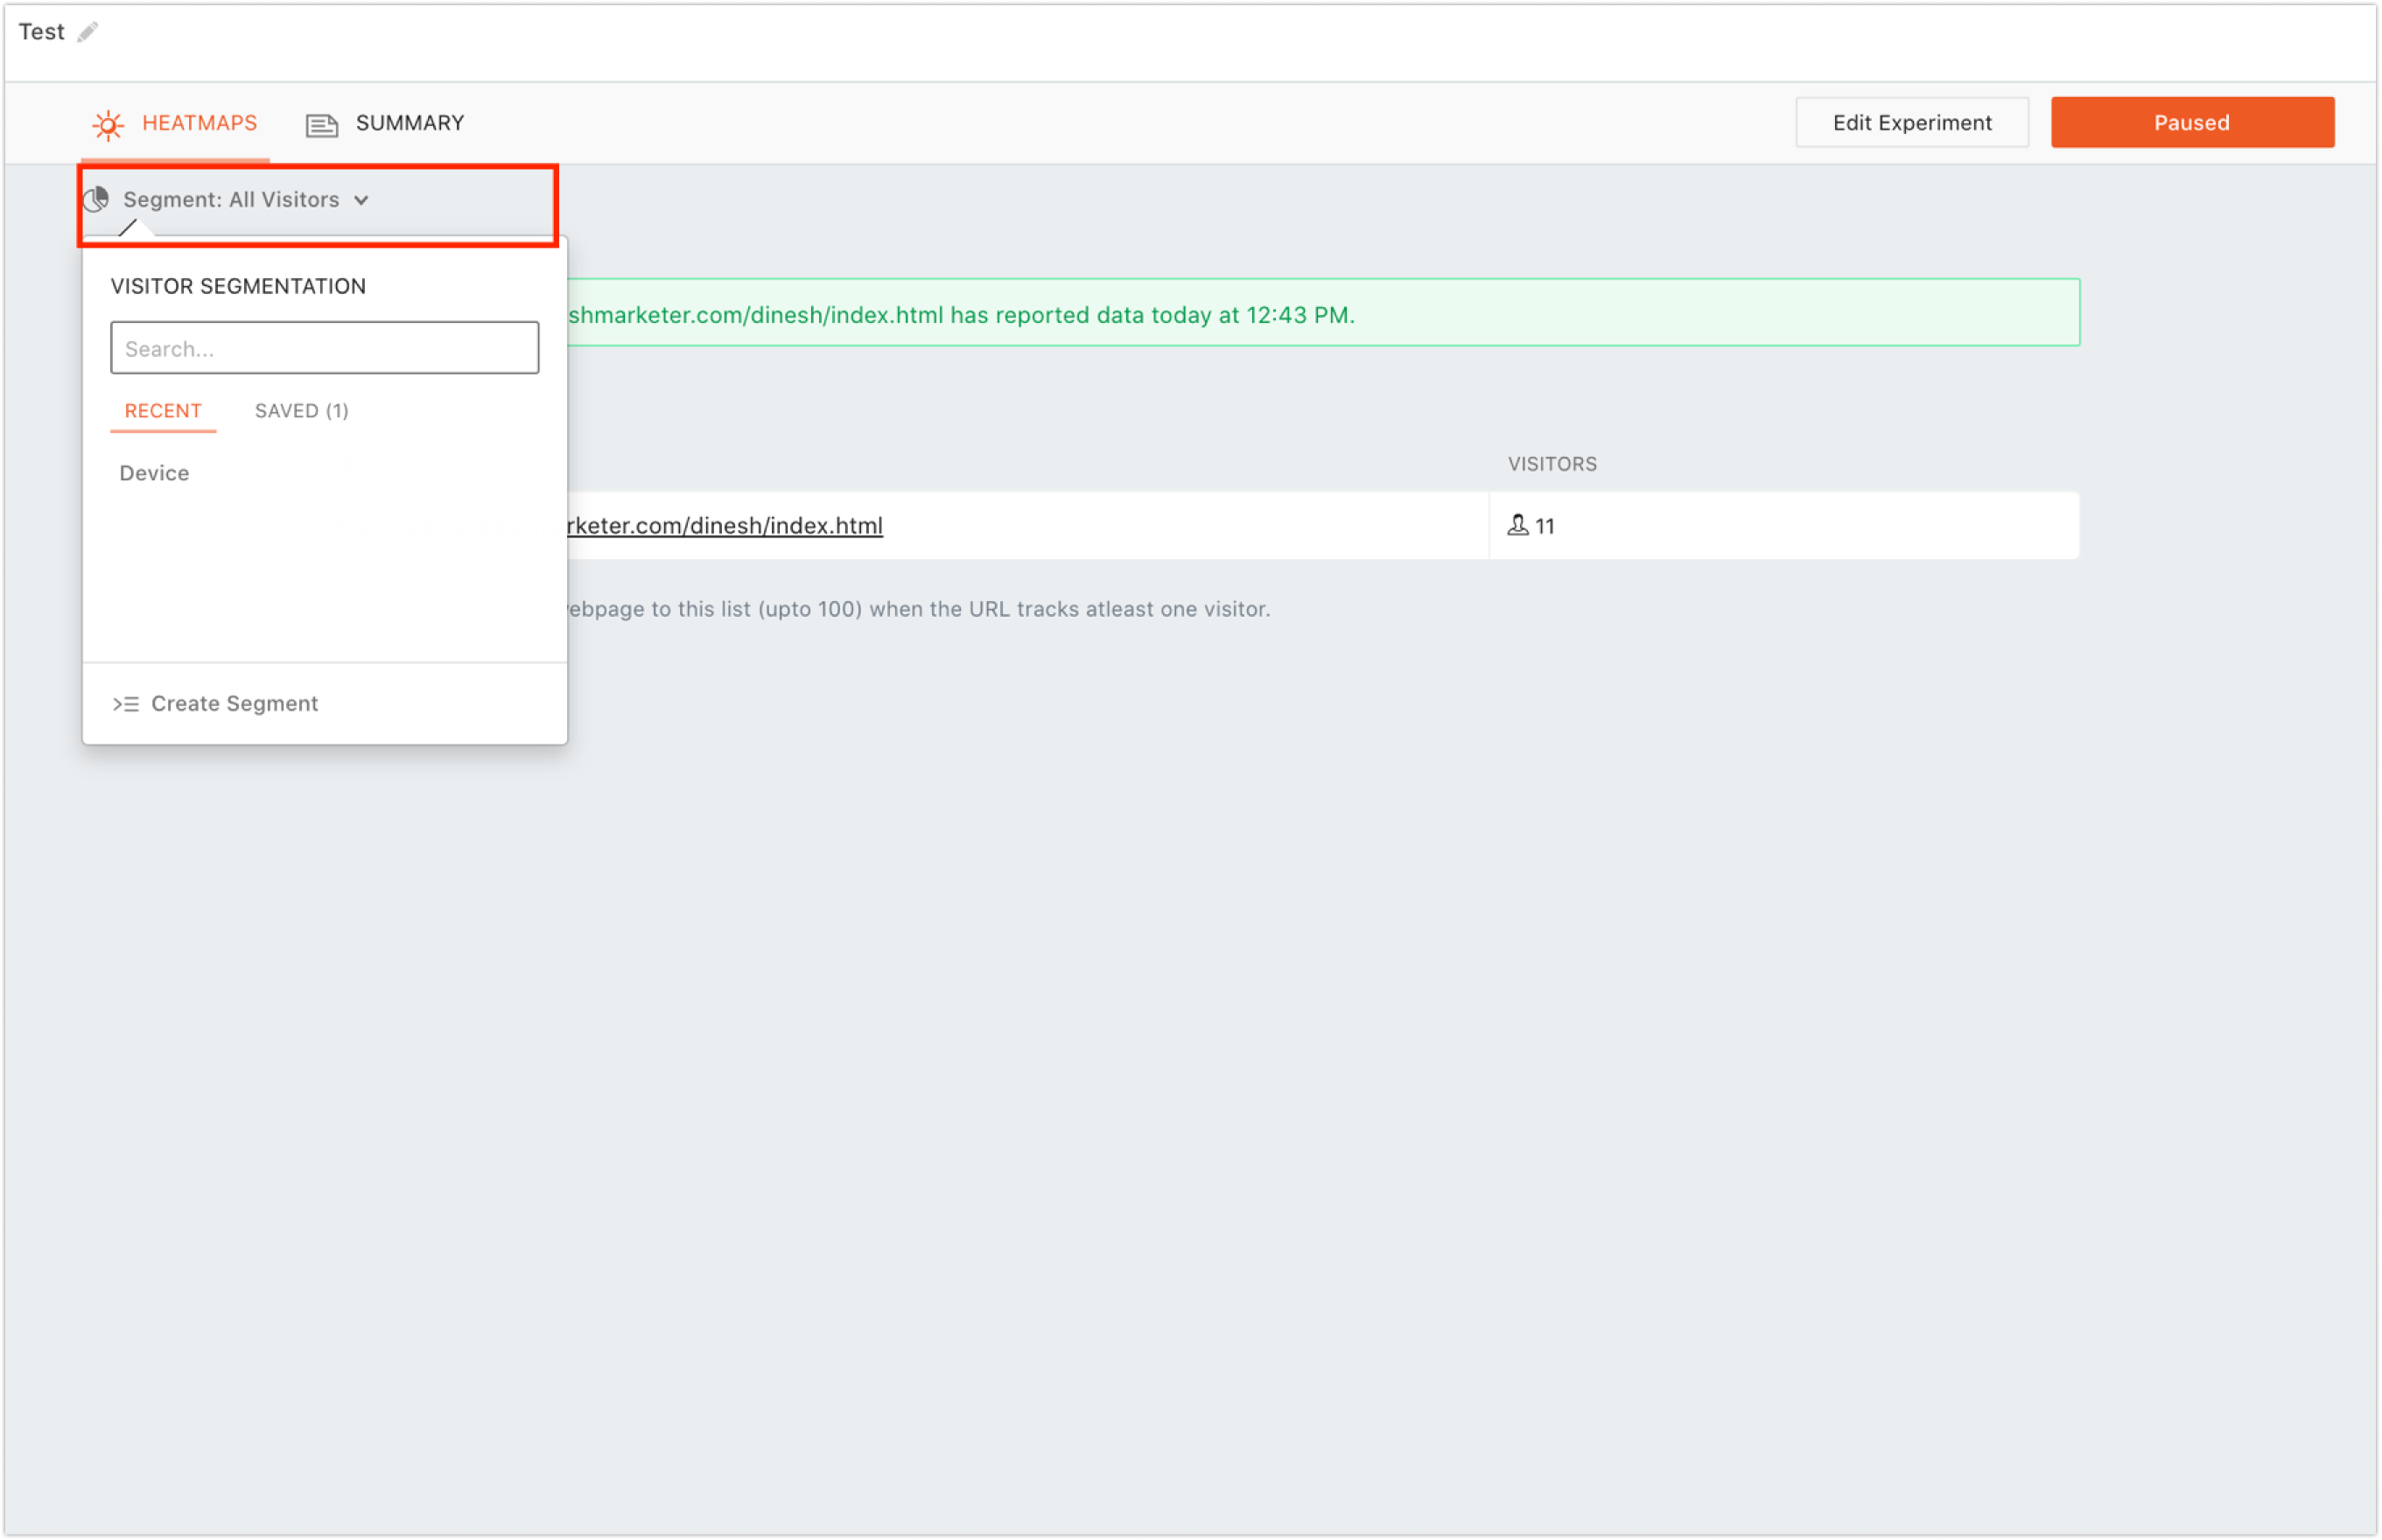
In the web application, go to your heatmap experiment and click the Segments dropdown to view the created segmentations as shown below. Click your preferred segment for applying.

Click on a view heat map and use the segment option directly from the browser as shown below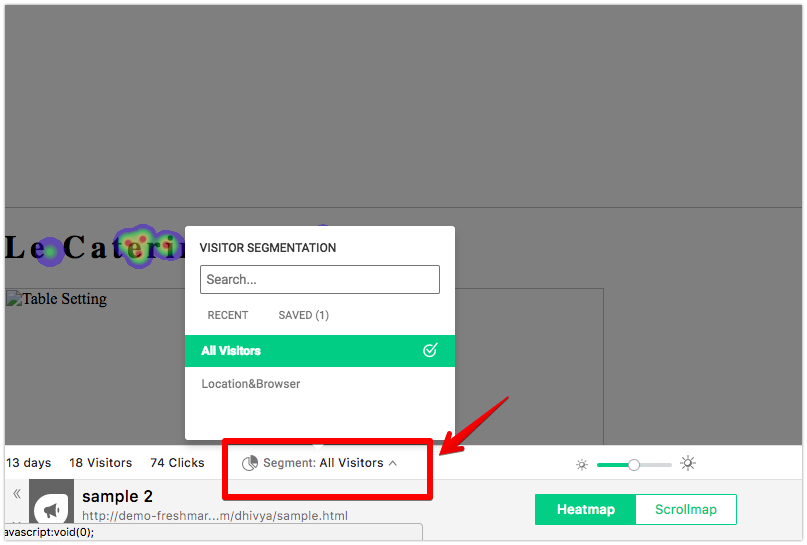
Note: You can also edit and remove the applied segmentation.